Astrophotography is a fascinating blend of art and science offering a window into the universe most stunning phenomena. Whether you’re interested in the majestic sweep of the Milky Way, the intricate details of a distant galaxy or the serene glow of a lunar landscape, there are various techniques to help you capture these celestial wonders.
In this comprehensive guide, we’ll dive into the different types of astrophotography discussing the equipment methods and strategies that will elevate your nightscape photography to new heights.
Wide Angle Nightscapes
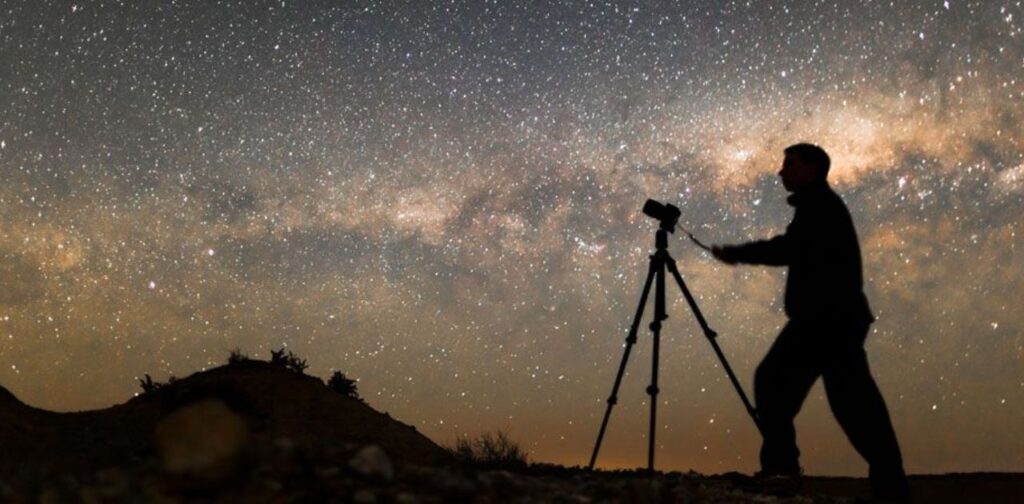
Wide angle nightscapes are often the entry point for many budding astrophotographers. This technique involves capturing expansive portions of the night sky, often framed by a foreground that adds context and scale to the celestial scene.
Equipment Needed
To capture stunning wide-angle nightscapes, you’ll need the following:
Remote Shutter Release: To avoid camera shake, use a remote shutter release or the camera’s built-in timer.
Wide-Angle Lens: A lens with a focal length between 14mm and 24mm is ideal. These lenses allow you to capture a broad view of the sky, including constellations, the Milky Way, and even meteor showers.
Techniques for Success
- Long Exposure: To capture the faint details of the night sky, you’ll need to use long exposure settings. Start with a 20-second exposure, and adjust based on the ambient light and your camera’s capabilities.
- Framing the Foreground: Including a foreground element, such as a mountain range, trees, or a silhouette, can add depth and interest to your image.
- Dealing with Light Pollution: Light pollution can wash out your images. To combat this, try using a light pollution filter or traveling to a dark sky location.
Practical Example
Imagine you’re standing in a remote national park, with a clear view of the horizon. You set up your camera, attach your 14mm wide-angle lens, and compose a shot that includes a mountain range beneath a star-studded sky. After adjusting your settings to a 20-second exposure at ISO 3200, you click the shutter. The result is a breathtaking nightscape that captures the beauty of both Earth and sky.
Prime Focus Astrophotography
DSLR or Mirrorless Camera: A camera with good low-light performance is essential. Modern DSLRs and mirrorless cameras, such as the Nikon D850 or Sony A7 III, are excellent choices for astrophotography.
Sturdy Tripod: Stability is crucial for long exposure photography. A high-quality tripod, like the Manfrotto 055, ensures your camera remains steady during long exposures.

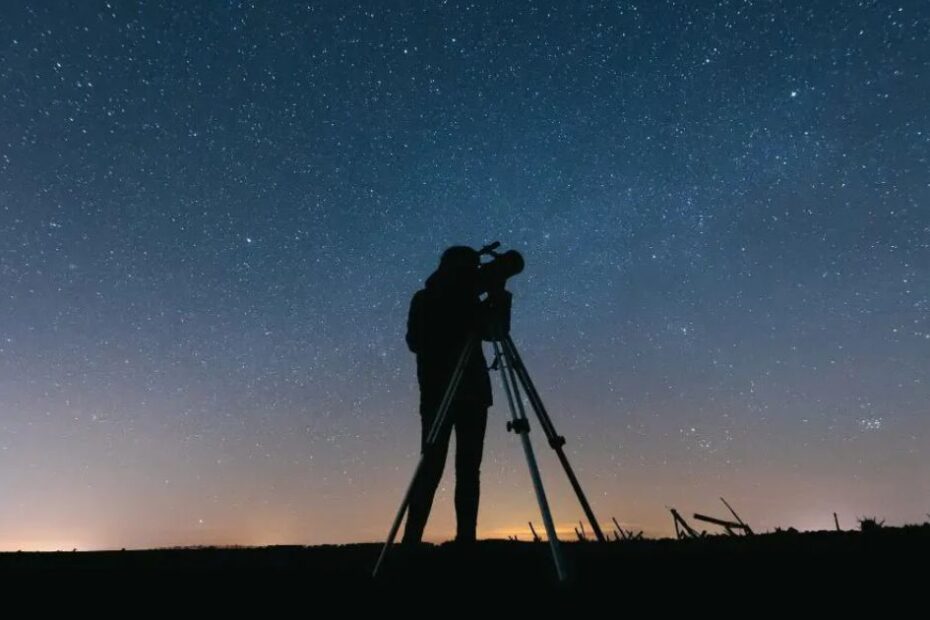
Prime focus astrophotography is a more specialized technique that involves attaching your camera directly to a telescope. This method eliminates the camera’s lens, allowing the telescope to act as the lens, which is perfect for capturing detailed images of celestial objects like planets, the Moon, and distant galaxies.
Essential Equipment
- Telescope: A quality telescope, such as a Schmidt-Cassegrain or Newtonian reflector, is essential. The Celestron NexStar 8SE is a popular choice among amateur astronomers.
- Camera: DSLR or mirrorless cameras work well, but for more detailed planetary imaging, a dedicated planetary camera like the ZWO ASI224MC might be more appropriate.
- T-Ring and T-Adapter: These components connect your camera body to the telescope, replacing the camera lens with the telescope’s optics.
- Equatorial Mount: A motorized equatorial mount, such as the Sky-Watcher EQ6-R Pro, is crucial for tracking celestial objects as they move across the sky.
Techniques and Tips
- Aligning the Telescope: Proper alignment is critical. Use a polar alignment tool or software to align your equatorial mount with the celestial pole.
- Focusing: Achieving sharp focus can be challenging. Use a Bahtinov mask or focus on a bright star to fine-tune the focus before moving to your target object.
- Exposure Settings: Start with a shorter exposure to avoid overexposing bright objects like the Moon or planets. For deep sky photography, longer exposures may be necessary, but you might need to take multiple exposures and stack them using image stacking software.
Practical Application
Suppose you’re interested in photographing Saturn. You set up your telescope and camera, ensuring the equatorial mount is properly aligned. After focusing on a bright star, you switch to Saturn and take a series of short exposures. By stacking these images in software like DeepSkyStacker, you produce a sharp, detailed image of the ringed planet, with its intricate ring structure clearly visible.
Star Tracker Nightscapes

For those looking to capture more detailed images of the night sky without the limitations of star trails, a star tracker setup is a game-changer. This method involves using a motorized star tracker to follow the movement of the stars, allowing for longer exposures without trailing.
Required Gear
- Star Tracker: The iOptron SkyGuider Pro or Sky-Watcher Star Adventurer are popular star trackers that can handle a range of camera and lens setups.
- Camera and Lens: A DSLR or mirrorless camera with a wide-angle or telephoto lens for astrophotography works well. A 24mm f/1.4 lens is a versatile option.
- Tripod: A stable tripod is essential to hold both the star tracker and the camera.
- Polar Scope: Most star trackers come with a polar scope for precise polar alignment.
Mastering the Technique
- Polar Alignment: This is the most critical step in using a star tracker. Align the tracker with Polaris (for Northern Hemisphere observers) using the polar scope.
- Exposure Settings: With the star tracker in place, you can increase your exposure time significantly. Experiment with 2-4 minute exposures to capture faint details in the Milky Way or other deep sky objects.
- Composing Your Shot: Use the star tracker to keep the stars pin-sharp, while framing your shot to include interesting foreground elements.
Real-World Example
Imagine setting up your star tracker in a dark sky reserve. After carefully polar aligning the tracker, you attach a 50mm telephoto lens to your camera and aim at the Milky Way’s core. With a 3-minute exposure, you capture a detailed image showing the Milky Way’s intricate structure, with no star trails, and the surrounding landscape illuminated by the faint light of the stars.
Read Also: Surreal Photography In Coxsackie
Piggyback Astrophotography

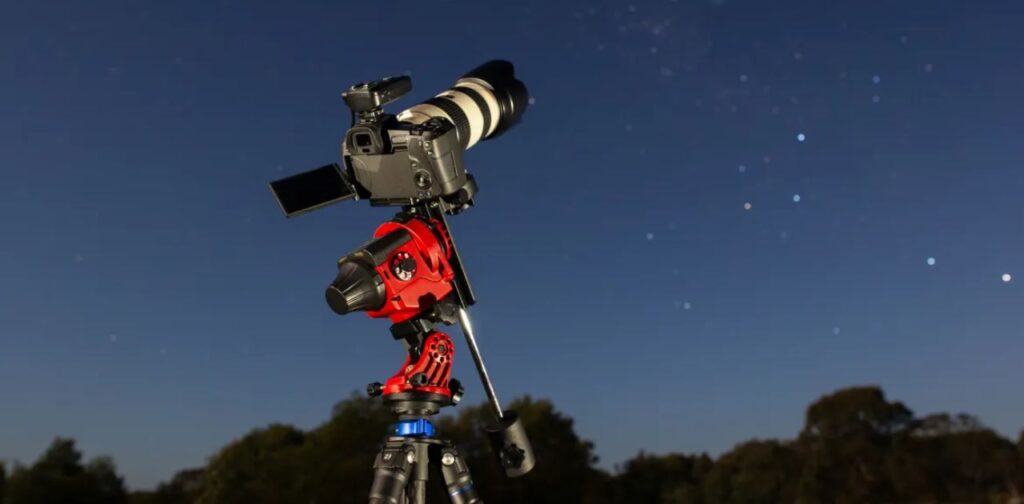
Piggyback astrophotography is a versatile technique that allows you to mount your camera on top of a telescope, using the telescope’s tracking abilities to capture wide-field images of the sky.
Gear Checklist
- Telescope with Equatorial Mount: A telescope like the Meade LX90 with an equatorial mount is ideal.
- Camera: A DSLR or mirrorless camera, coupled with a wide-angle or telephoto lens.
- Piggyback Mount: A bracket that attaches your camera securely to the telescope.
- Remote Shutter Release: To minimize vibration and ensure sharp images.
How It’s Done
- Mounting the Camera: Secure your camera to the piggyback mount on the telescope. Ensure it’s balanced to avoid putting strain on the mount.
- Tracking the Sky: With the telescope tracking the sky, your camera will follow the stars’ movement, allowing for longer exposures.
- Exposure and Focus: Use a medium exposure time (1-3 minutes) and manually focus on a bright star or planet.
Application in the Field
Suppose you’re interested in capturing a wide-field image of the Orion constellation. With your camera mounted piggyback on a telescope, you set a 2-minute exposure. The telescope’s tracking ensures that stars remain sharp, and the final image reveals not just Orion’s Belt, but also the faint details of the surrounding nebulae.
Star Tracker Milky Way Close-Ups
For more detailed shots of the Milky Way’s core, a star tracker is indispensable. This technique allows you to zoom in on specific areas of the Milky Way, capturing stunning close-ups with remarkable detail.
Necessary Tools
- Star Tracker: A reliable tracker like the Vixen Polarie is crucial for maintaining sharpness over longer exposures.
- Telephoto Lens: A lens in the range of 85mm to 200mm provides a good balance between detail and field of view.
- Camera: A full-frame DSLR or mirrorless camera with good high-ISO performance, such as the Canon EOS R5, works well.
- Intervalometer: Useful for taking a series of exposures without manually pressing the shutter.
Step-by-Step Guide
- Align the Star Tracker: Just like with wide-field shots, polar alignment is crucial.
- Framing the Milky Way: Use the telephoto lens to zoom in on the most interesting parts of the Milky Way, such as the Sagittarius Arm.
- Image Stacking: To reduce noise and increase detail, take multiple exposures and stack them in post-processing software.
Example Scenario
Consider a scenario where you want to photograph the Rho Ophiuchi cloud complex, a colorful area near the Milky Way’s core. Using a 135mm telephoto lens and a star tracker, you take several 2-minute exposures. After stacking these images, you produce a vibrant, detailed close-up that showcases the stunning colors and intricate details of this deep sky region.
Afocal Astrophotography
Afocal astrophotography is one of the simplest methods for beginners, yet it can yield surprisingly good results. This technique involves holding a camera (or smartphone) up to the eyepiece of a telescope to capture an image.
Equipment for Afocal Photography
- Telescope: Any telescope can work, but a
small refractor or Maksutov-Cassegrain is often ideal for afocal photography. - Digital Camera or Smartphone: A compact digital camera with a zoom lens or a smartphone with a camera adapter.
- Eyepiece: A wide-field eyepiece helps to minimize vignetting and provide a larger field of view.
- Adapter: Smartphone adapters, like those from Celestron or Orion, help to steady the camera and avoid hand-shake.
Execution Tips
- Aligning the Camera: Position the camera lens directly over the eyepiece, ensuring the image is centered and sharp.
- Focusing: Focus the telescope first, then fine-tune the focus on your camera or smartphone.
- Dealing with Vignetting: To minimize vignetting, zoom in slightly on the camera, or adjust the eyepiece if possible.
In Practice
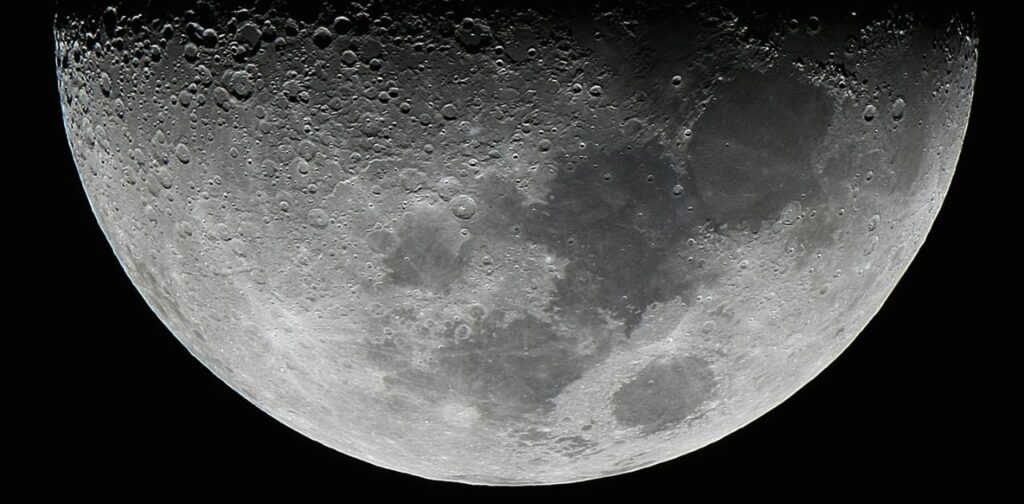
Say you’re interested in photographing the Moon. Using a smartphone mounted on a 6-inch Dobsonian telescope, you align the camera with a 25mm eyepiece. After focusing and adjusting for exposure, you capture a detailed image of the Moon’s craters, which you can then enhance further using smartphone astrophotography apps like NightCap or Photoshop Express.
Nightscape Panoramas
Nightscape panoramas are an advanced technique that involves stitching multiple images together to create a wide, sweeping view of the night sky. This method is particularly effective for capturing large sections of the Milky Way or expansive views of auroras.
Essential Gear
- Wide-Angle Lens: A 24mm or 35mm lens works well, providing a balance between wide coverage and image sharpness.
- Panoramic Head: A tripod with a panoramic head, like the Nodal Ninja, ensures accurate and consistent movement between shots.
- Camera: A DSLR or mirrorless camera with manual settings is essential for consistent exposure across the panorama.
Techniques for Panoramic Success
- Overlap Your Shots: Ensure that each frame overlaps the previous one by about 30% to make stitching easier in post-processing.
- Manual Settings: Keep all settings consistent (ISO, aperture, shutter speed) across each shot to avoid differences in brightness or color.
- Stitching Software: Use software like PTGui or Adobe Lightroom to stitch the images together seamlessly.
Real-World Application
Imagine you’re standing on a plateau under a clear night sky, with the Milky Way arching overhead. You take a series of 10 overlapping shots, each with a 24mm lens, ensuring that the horizon remains level. Back at home, you stitch the images together to create a stunning panorama that captures the full expanse of the Milky Way, from horizon to horizon.
Conclusion
Astrophotography offers endless possibilities for exploring and capturing the beauty of the night sky. Whether you’re interested in wide-angle nightscapes, detailed planetary imaging, or sweeping panoramas, there’s a technique and setup that can help you achieve your goals. By understanding the strengths and challenges of each type of astrophotography, you can better plan your sessions, choose the right equipment, and apply the best techniques to capture breathtaking images of the cosmos.
Remember, the key to mastering astrophotography lies in practice and patience. The night sky is ever-changing, and each session presents new challenges and opportunities. So, grab your camera, set up your gear, and start exploring the wonders of the universe. With the right approach and a bit of perseverance, you’ll soon be capturing images that are truly out of this world.
